As we mention in nearly every article we write, 360° Breathing is the first and most important movement to teach your clients because the way we breathe impacts nearly every system in our bodies. Proper breathing mechanics will form the foundation for every single movement your client does, and it is especially important for pregnant and postpartum clients. But what happens if your clients just cannot get that 360° expansion despite all your cueing and coaching? It may be due to the tissues in their rib cage being “stuck.” Try the movements below to help free the tension that may be restricting your client’s rib movement. In addition to improving breathing mechanics, these movements also feel great to do.
Why Does the Rib Cage Get Stuck?
Like all movements the body makes, breathing requires good mobility of the soft and skeletal structures to perform it most effectively. Without full range of motion of the ribs (to which the diaphragm attaches), the diaphragm cannot descend properly to allow for full inhalation.
To use a squat analogy, think about how squat depth can be limited due to tight hip flexors. You may try to stretch the hip flexors, and do some foam rolling or other mobilization strategy in order to free the restriction. Assuming you were successful, the squat should get deeper after revisiting it. This same concept can be applied to the tissues in between, and attaching to, the ribs. If those tissues are restricted, doing some mobilization work can help to free tension that is restricting adequate rib movement for optimal 360° expansion during the inhale and release on the exhale.
How to Get the Rib Cage Unstuck
While the term rib “cage” implies that the area protecting the heart and lungs is an immobile structure, it is actually quite malleable. There are about 80 joints comprised of bone, cartilage, and connective tissue that facilitate breathing. One way to help the rib cage get “unstuck” is to mobilize it in all three planes. On top of that, taking breaths while in those different positions will help the changes “stick” by letting the tissues feel (via proprioception) the length that’s possible. In addition, Gray Cook (physical therapist and co-founder of FMS) reminds us that breathing into different positions allows us to own those position because taking full breaths tells the brain that there is nothing to fear, that there is no reason to avoid those end range positions.
Moves to Mobilize
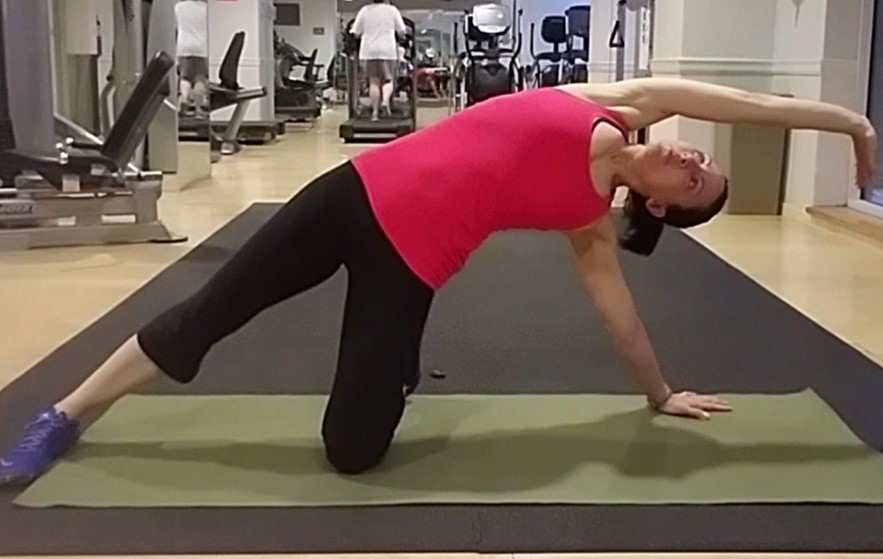
In the video below, you will see 4 different moves that take the rib cage through the sagittal, frontal, and transverse planes. Take 3-4 breaths in each position (breathing into the specific aspect of the rib cage being opened):
- Downward Dog (Sagittal Plane): Opening the posterior aspect of the rib cage
- Side Bend (Frontal Plane): Opening the side of the rib cage.
- Lunge with T-Spine Rotation (Transverse Plane): Opening the rib cage to the same side it is rotating towards.
- Child’s Pose (Sagittal Plane): Opening the anterior aspect of rib cage.
These breathing flows are good to use as a warm-up, but can also be an effective active rest in between sets, or as a gentle stretch at the end of a workout to help counteract the rib cage compression that can occur with heavier weight training. Even if your clients don’t seem to struggle with breathing, these are still great flows that can help relieve tension and simply make your clients feel better!
Want Additional Resources?
For additional resources to help you exercise safely and effectively during pregnancy, explore our training programs and services. You’ll find a variety of offerings tailored to different needs — from education, to self-guided programs, to the ability to work with an expert coach.
Or, if you’re a health & fitness pro interested in coaching pre & postnatal clients, check out our ProNatal Education & Certification.
