Checking yourself for Diastasis Recti can be a frustrating experience. Perhaps one day you check yourself and you have a gap that’s 2 fingers wide, but the next day the gap seems smaller (hooray!). Then you check again the following week and now the gap is closer to 3 finger widths. What’s going on? Is your gap really changing this much? Likely not.
Unfortunately, the Diastasis Recti test is an imperfect one with many variables that can influence your results. Moreover, the width of your gap is NOT the most telling indicator of your DR severity.
Wait what? Yes…that’s right.
In this post, we’ll walk you through step-by-step how to perform the DR assessment, what exactly to look for, and how to perform the test in a manner that improves your testing accuracy. Finally, we’ll share some guidance on how to take action on your results so you can confidently begin your healing process.
Diastasis Recti: What to Check For
Before we discuss how to perform the test, let’s briefly discuss what you are checking for.
Recall that Diastasis Recti is a separation of the left and right sides of the rectus abdominis muscle. Therefore, the first thing to check for is how far apart those left and right sides of your rectus abdominis muscle are. While there is no standard definition of DR, the most well-accepted definition is a gap width of 2.7 cm (approximately 2 finger-widths) or greater. In other words, try to feel for the distance between the left and right “ridges” of your rectus abdominis muscle. If you can fit two or more fingers in between those ridges, then this would be considered DR.
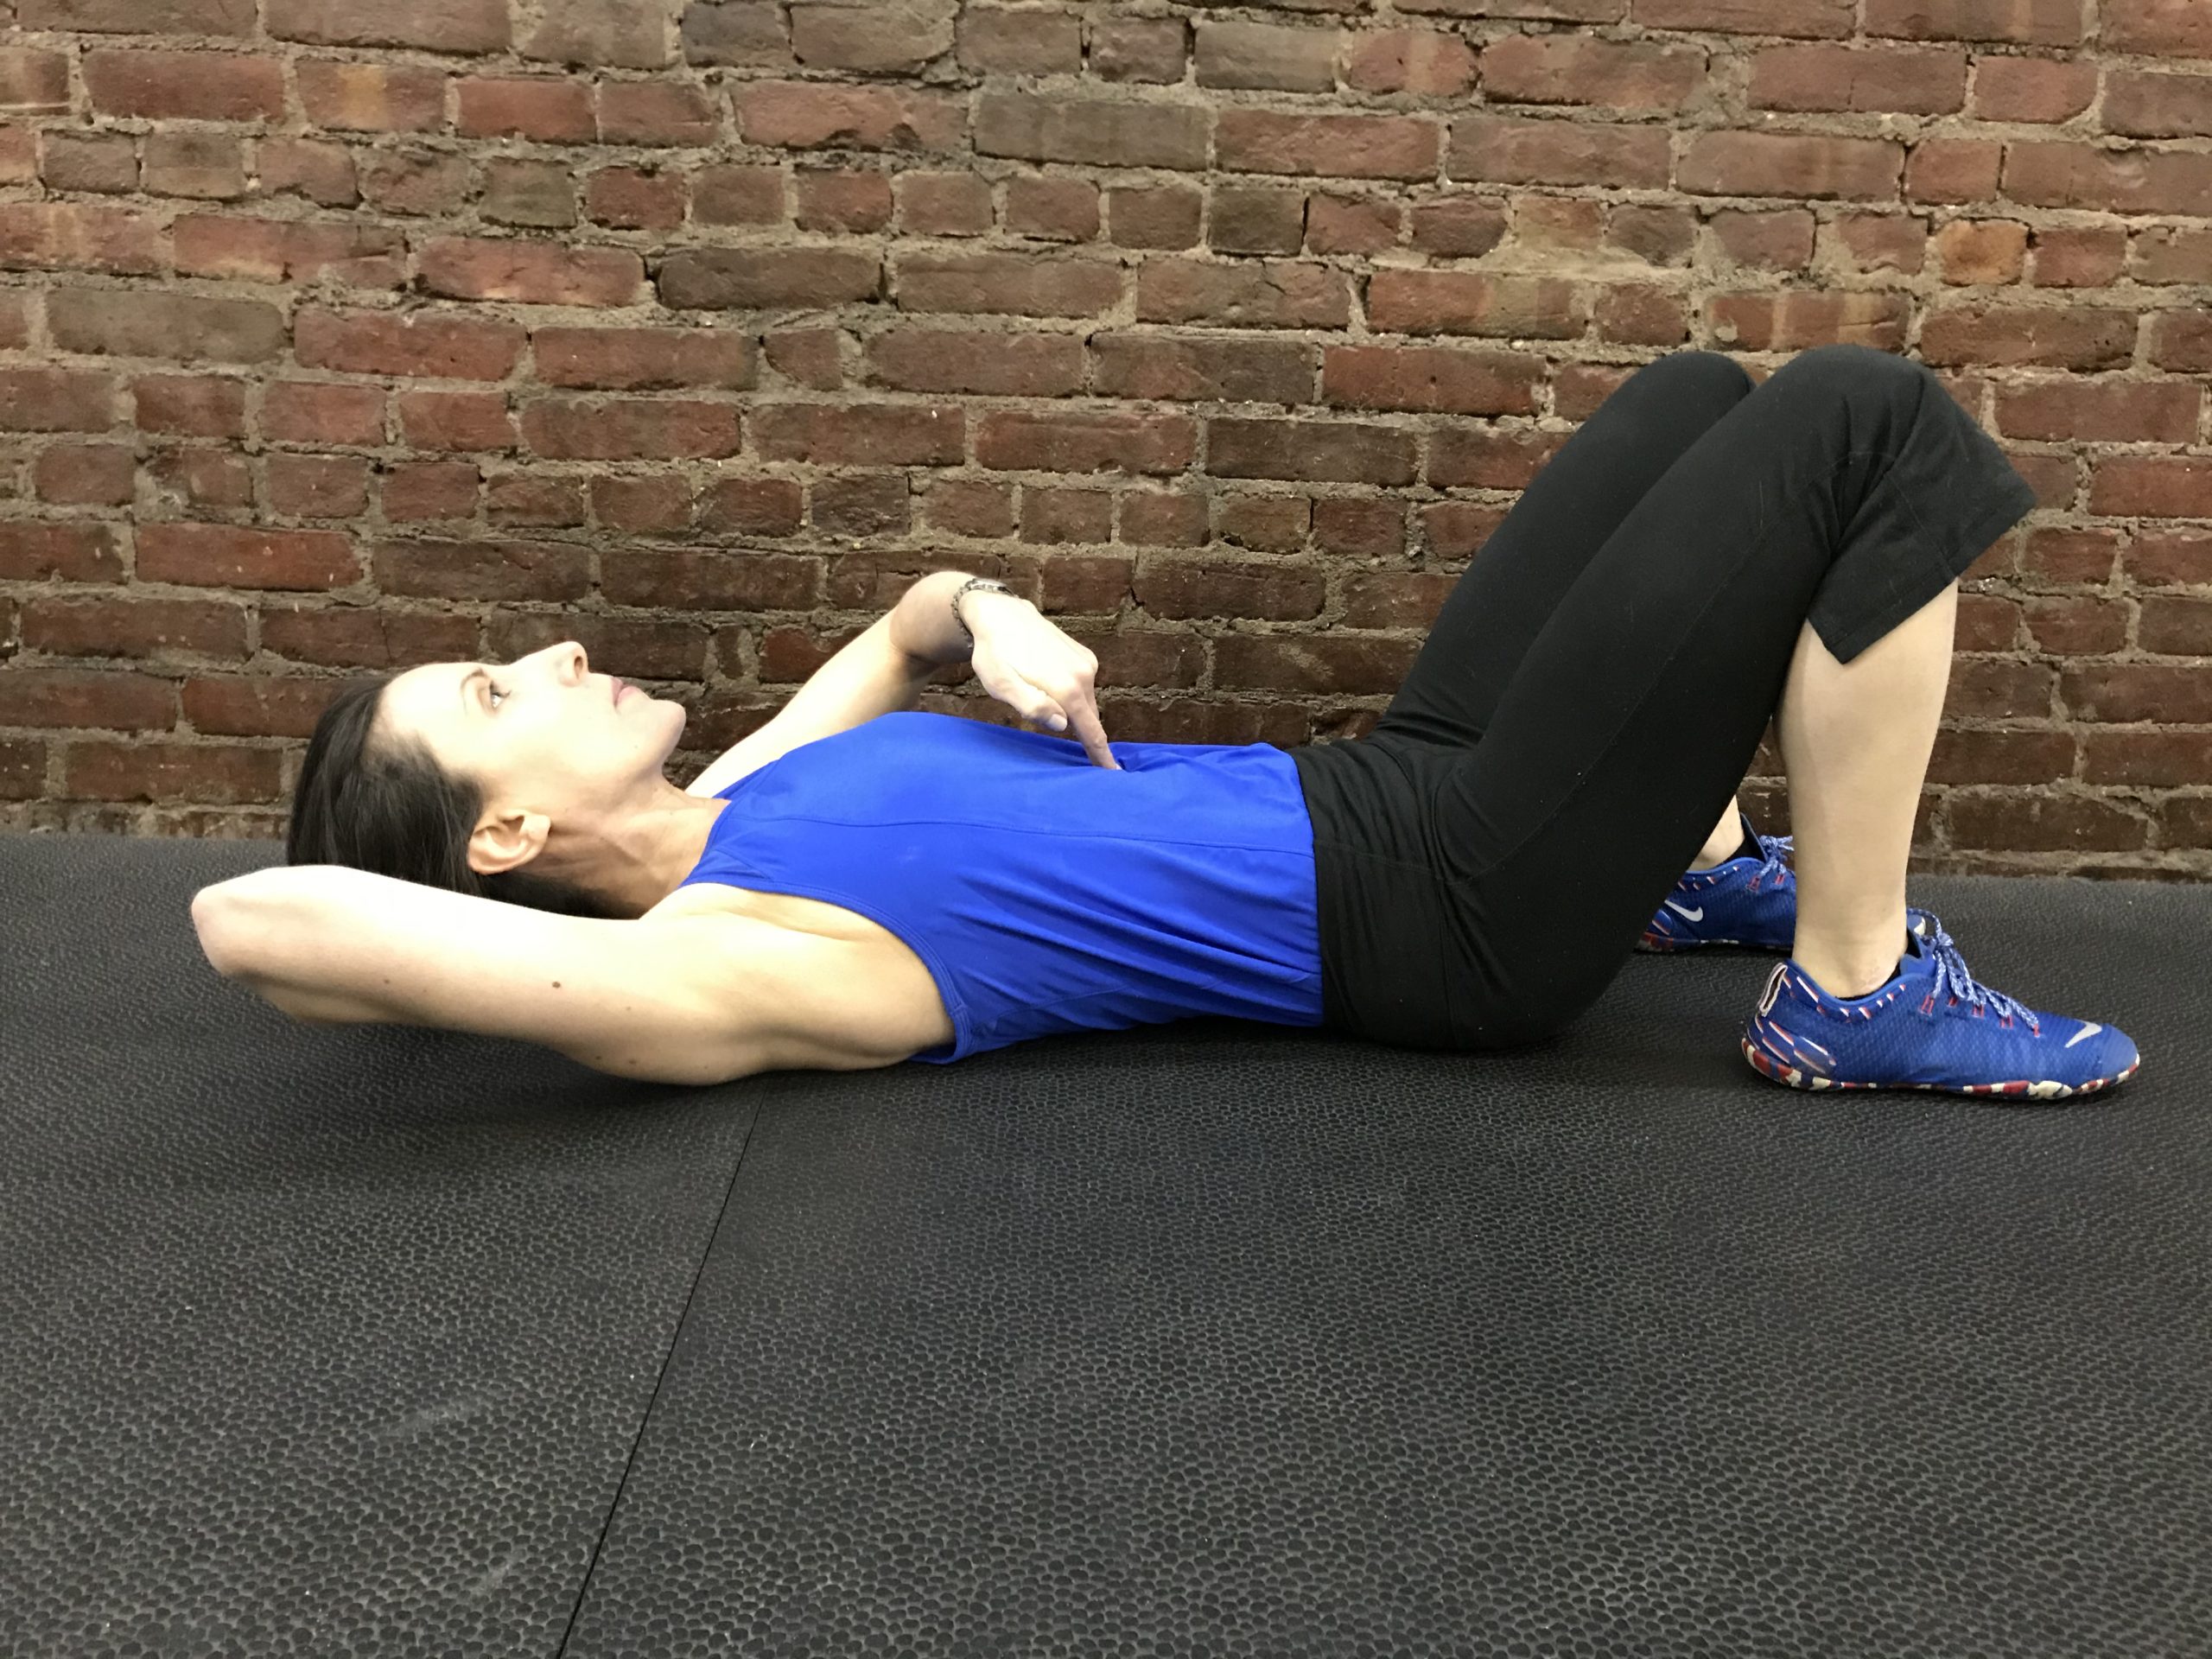
Most people think this is the only thing to assess. After all, we almost always hear DR discussed in terms of finger-widths. However, newer research has revealed that depth of separation can actually be a more telling indicator of DR severity (Lee & Hodges, 2016). Unlike the width assessment, there is no objective criteria for assessing depth. In general though, when you press down on the gap, how “taut” (or not) does it feel? If your gap feels shallow and taut — similar to the tissue under your chin when you lift your head (like below) –– this is a good sign. It indicates good integrity of your linea alba connective tissue (the tissue that connects the two sides of your rectus muscle).

However, if your gap feels “soft and squishy” enabling you to sink your fingers down into your abdomen more — more like the tissue in your cheek (like below) — this is a sign of a more compromised linea alba tissue, and therefore your healing process may take longer.

When factoring in your width and depth assessments, the depth measurement weighs more heavily on the speed of your healing process than the width measurement. As an example, a gap that is 3 fingers wide and shallow will likely take LESS time to heal than a gap that is 2 fingers wide and deep.
When to Check for Diastasis Recti
We recommend waiting until you are at least 6 weeks postpartum to perform the DR assessment. Every person will have some degree of DR in the immediate aftermath of delivery, which will heal a bit over the next several weeks. So, waiting at least 6 weeks will give you a more accurate picture of the degree of recovery work needed.
While you can check for DR during pregnancy as well, remember that some degree of DR is a normal and natural part of pregnancy. So, just recognize that if you are checking later in your pregnancy, you will likely have it, but that’s not necessarily a bad thing. Your body is doing what it is designed to do.
How to Check Yourself for Diastasis Recti
OK now that you understand when to check, and what you are checking for, let’s discuss how to perform the test. Watch the video for an overview, and see the bullet points below, which summarize the key steps. If you are a fitness professional looking for guidance on how to assess your clients, please see Checking a Client for DR.
Key Points to Remember
- Transition onto your back safely: Roll to the side first when lying down and sitting up.
- Assess the WIDTH and DEPTH of your gap: You are assessing the width of your gap (how many fingers you can fit in between the ridges of your rectus abdominis muscle) and the depth (how the gap feels when you press on it – deep, soft, and squishy or shallow and taut).
- Assess at rest first, then with the head lift: We do this so that we can compare the difference in depth between the two assessments. The greater the change you feel between the tension in your gap at rest vs. with the head lift, the better.
NOTE: In some cases — especially when there is excess abdominal fat following pregnancy — DR can be difficult to assess. In these cases, you can simply assume DR and begin core recovery work. The deep core exercises in core recovery work are highly beneficial at any point, so engaging in core recovery work is never a bad thing!
Tips for Improving Your Testing Accuracy
As mentioned, the DR test is an imperfect one, with several variables that can impact results. To improve your testing accuracy, follow the step-by-step process outlined above, and these additional tips:
- Avoid testing if you are bloated (or within an hour of eating): Bloating pushes the abdominal contents forward, which can widen your gap.
- Exhale when lifting your head (not after): The way you breathe during the assessment impacts the results. For the most accurate results, exhale a split second before you lift your head (completing your exhale as you lift your head). Avoid exhaling after your head is lifted.
- Lift your head no more than one inch: Lifting your head too high will cause your gap to close a bit, which can make you think the gap is smaller than it really is. Lift only to the point where you feel your abdominal muscles activate. This is typically about an inch off the ground.
- Apply consistent pressure: Note the pressure you apply when you test. Try to apply this same pressure each time you check because how hard you press down also impacts your results.
Diastasis Recti Resources
To learn more about DR — and begin recovery work — see our resources below:
- Get the Guide to Diastasis Recti: This guide gives you more information about DR — including its causes (natural pregnancy causes and suboptimal behaviors) and some basic strategies to kickstart healing.
- Try our 8-Week Core Recovery Program: This self-guided program (delivered on the ProNatal Fitness app) takes you through the complete ProNatal Core Recovery Protocol. It includes a 5 – 8 minute core routine (to be performed 1-2 times per day) as well as movement and postural work to expedite healing. You can purchase this program alone, or as part of our full postpartum training program.
Are You a Health & Fitness Professional?
If you are a health & fitness professional interested in learning more about coaching pre & postnatal clients, explore our Pre & Postnatal Professional Education. Our Specialist Course provides a great deal of information on Diastasis Recti — including how to take your clients through the ProNatal Core Recovery protocol. Our Mini Course for GroupX instructors will help you support the pre & postnatal participants who attend your classes and help them mitigate issues with DR during pregnancy and postpartum recovery.
Sources:
Lee, D., & Hodges, P. W. (2016). Behavior of the Linea Alba During a Curl-up Task in Diastasis Rectus Abdominis: An Observational Study. The Journal of orthopaedic and sports physical therapy, 46(7), 580–589.
Spitznagle, T. M., Leong, F. C., & Van Dillen, L. R. (2007). Prevalence of diastasis recti abdominis in a urogynecological patient population. International urogynecology journal, 18(3), 321-328.